

Projection Mapping A Product Launch
Editors Note: Continuing our Behind the Scenes blog post series Sean Servis, Lightform’s production engineer, details what went into projection mapping a product launch for Nice Kicks. Discussed are the technical details about location set up, equipment used (including the Lightform LFC and LF2), ambient lighting management, and more. Read on to learn more about the event and what went into capturing the visuals for our Nice Kicks product launch project video featuring Lightform projection mapping.
Laser distance meters are a helpful addition to any projection mapping toolkit.
Testing Lightform Creator’s reactive projection mapping effects on the Woodstock sneakers, an Adidas Ultraboost collaboration with bright tie-dye patterns, felt like cheating. The most psychedelic shaders in the Lightform software tend to perform well on psychedelic subjects, so no one was surprised when Ganzfeld, Palette Trip, and Ripple took it up a notch. With a screen printing station for customizing handmade tie-dye shirts, there were plenty of test subjects to choose from.
Our wizards testing out different elements and deciding where to mount everything within the projection frame.
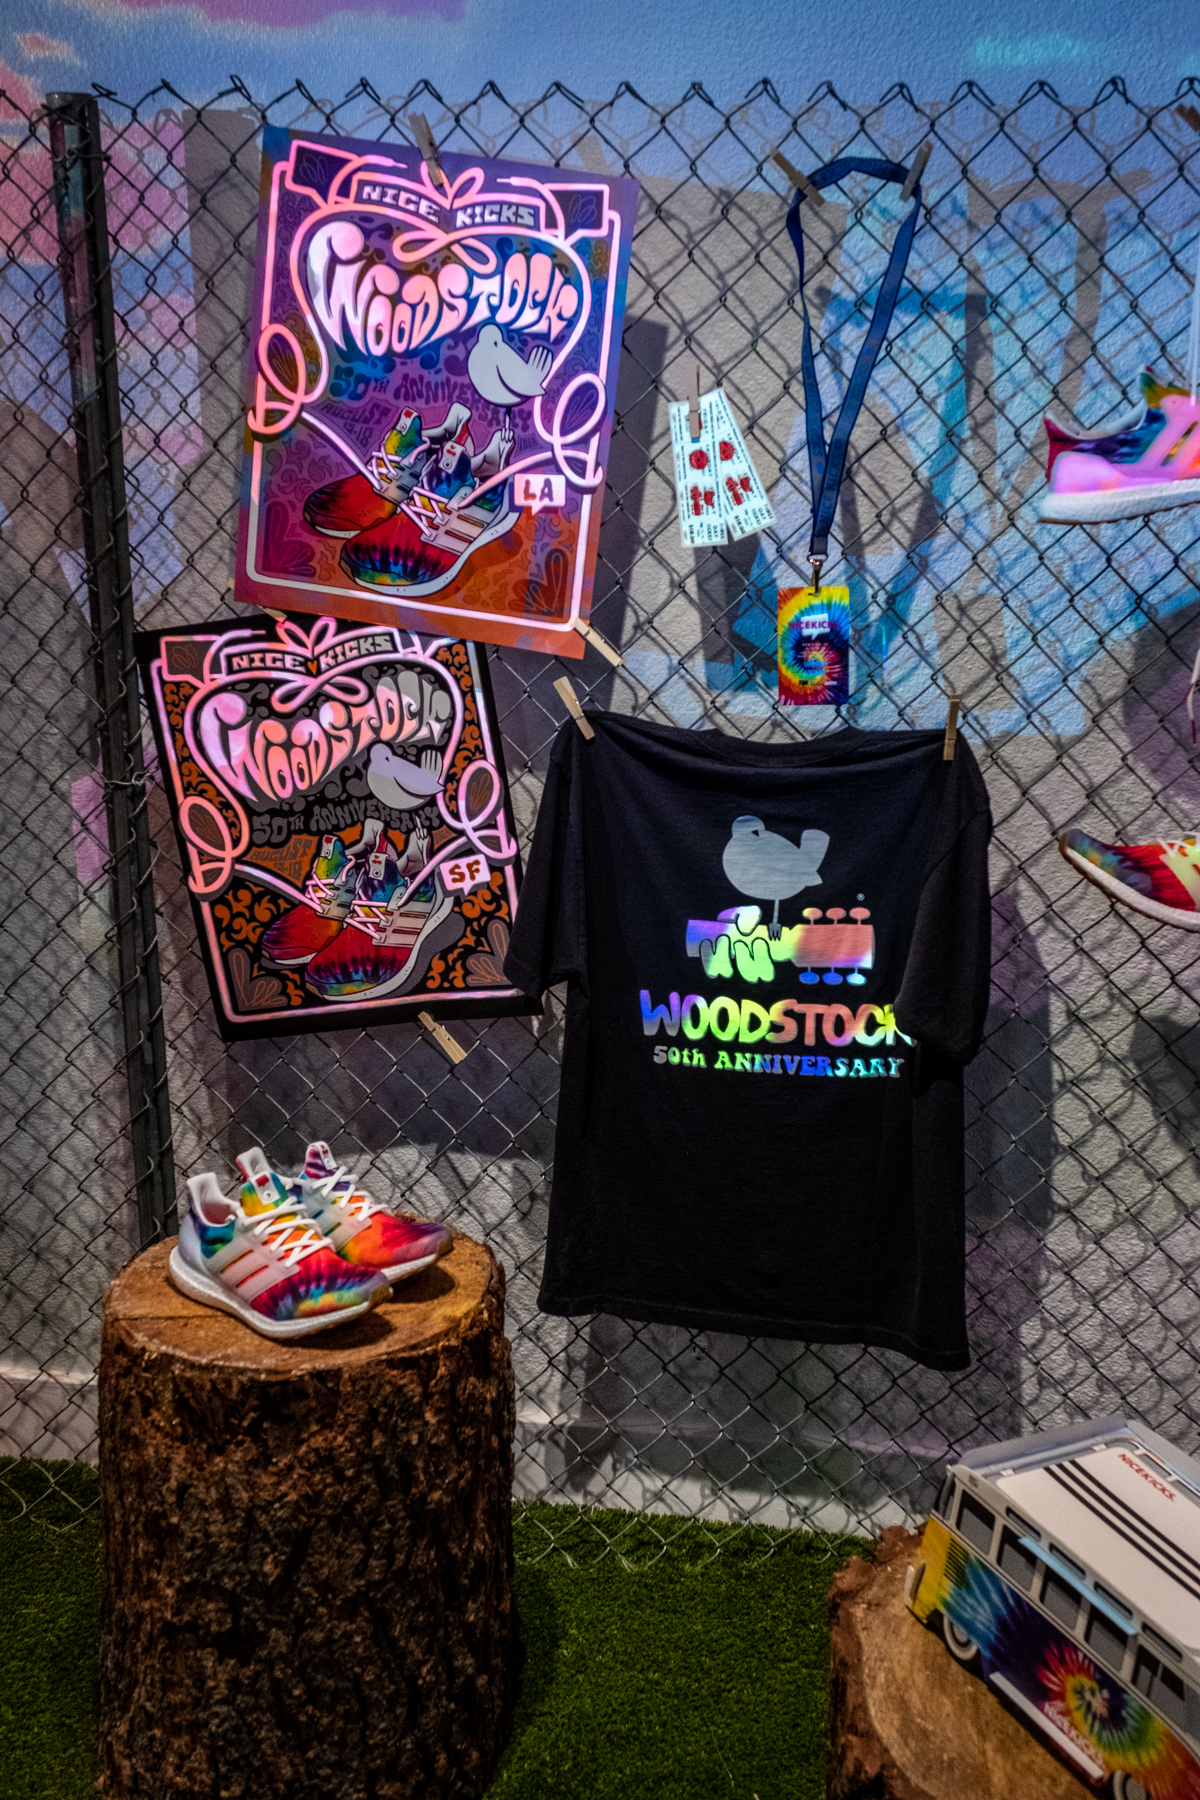
The fully-dressed set with completed projection mapping.
A second skylight shaft near the opposite wall was the perfect place to hang another LF2 projector to showcase three large prints from the sneaker’s photo marketing campaign. We picked out a few key photo elements to highlight with colorful effects but left most of the photographs un-illuminated not to overpower them. We had some real estate left above the photos, so we imported some JPEG files of all of our logos into Lightform Creator and threw some extra branding in the space.
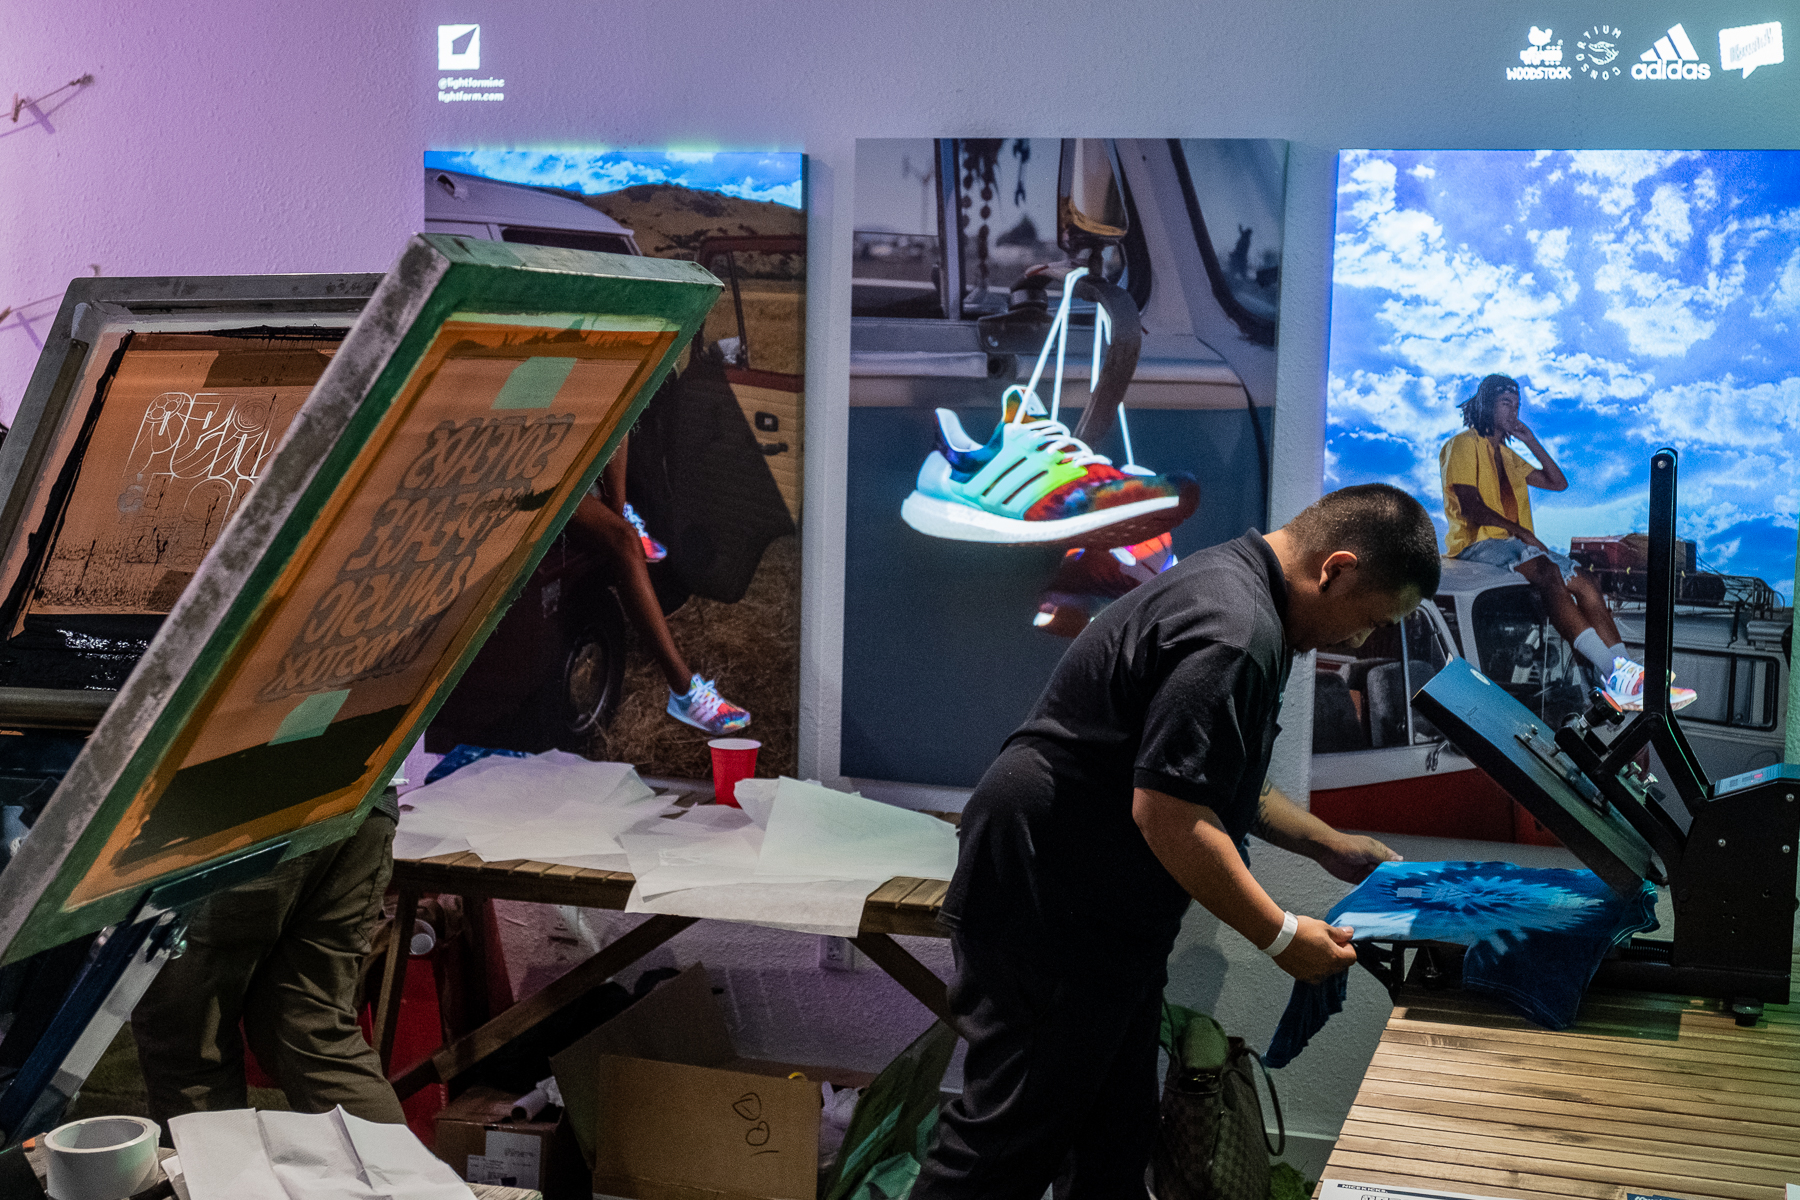
Projection mapping on product photography.
The skylights were as far back from the windows facing the street as possible, but as the setup progressed and we took stock of the ambient light throughout the day, it became apparent that there would still be too much daylight coming through them for the first hour or so after the doors opened. Usually, we would use some duvetyne and or a tarp for a temporary blackout. Still, since we had some spare posters for the event lying around, we used those to cover the windows instead making for a more cohesive ambiance while still meeting our lighting requirement.
Side-mounting Epson 1060s from ceiling joists using a hodgepodge of 5/8″-16mm grip components.
The second half of the space faced the street and had floor-to-ceiling windows that were not easily dimmed. To address this, we opted to use some brighter (3100 lumens) Epson 1060 home cinema projectors with Lightform LF so that intruding light at sunset wouldn’t present too much competition. Two-thirds of a long, bare wall running towards the window was soon covered top to bottom with a vinyl collage of black and white photos with some empty white rectangles. Like many commercial and industrial spaces in San Francisco, this building dated back to the 1930-40s and features large exposed redwood joists in the ceiling. Using Avenger baby plates and swivel joints, we mounted projectors out of sight by screwing them into the joist’s sides.
Two Epson 1060s with LFCs gave us enough coverage for projection mapping on the photo wall. The Magic Wand tool, in Lightform Creator, made picking out elements like brake lights and protest signs to highlight super easy. The empty white rectangles in the collage gave us the perfect areas to project archival film footage in color, a striking video presentation surrounded by still images.
The remaining section of empty wall space had a more mural-like vinyl decal covering it, a line drawing of a dove rendered after historic Woodstock artwork with the words Peace and Love. The black linework of the large vinyl decal sat atop a white background. This stark contrast made the selection of different inner sections of the dove a simple two-click operation with the Magic Wand tool. Filling in the voids with Lightform Creator’s trippiest, most colorful effects made the whole thing come to life, particularly after one of our engineers added a new tie-dye generator to Lightform Creator for us.
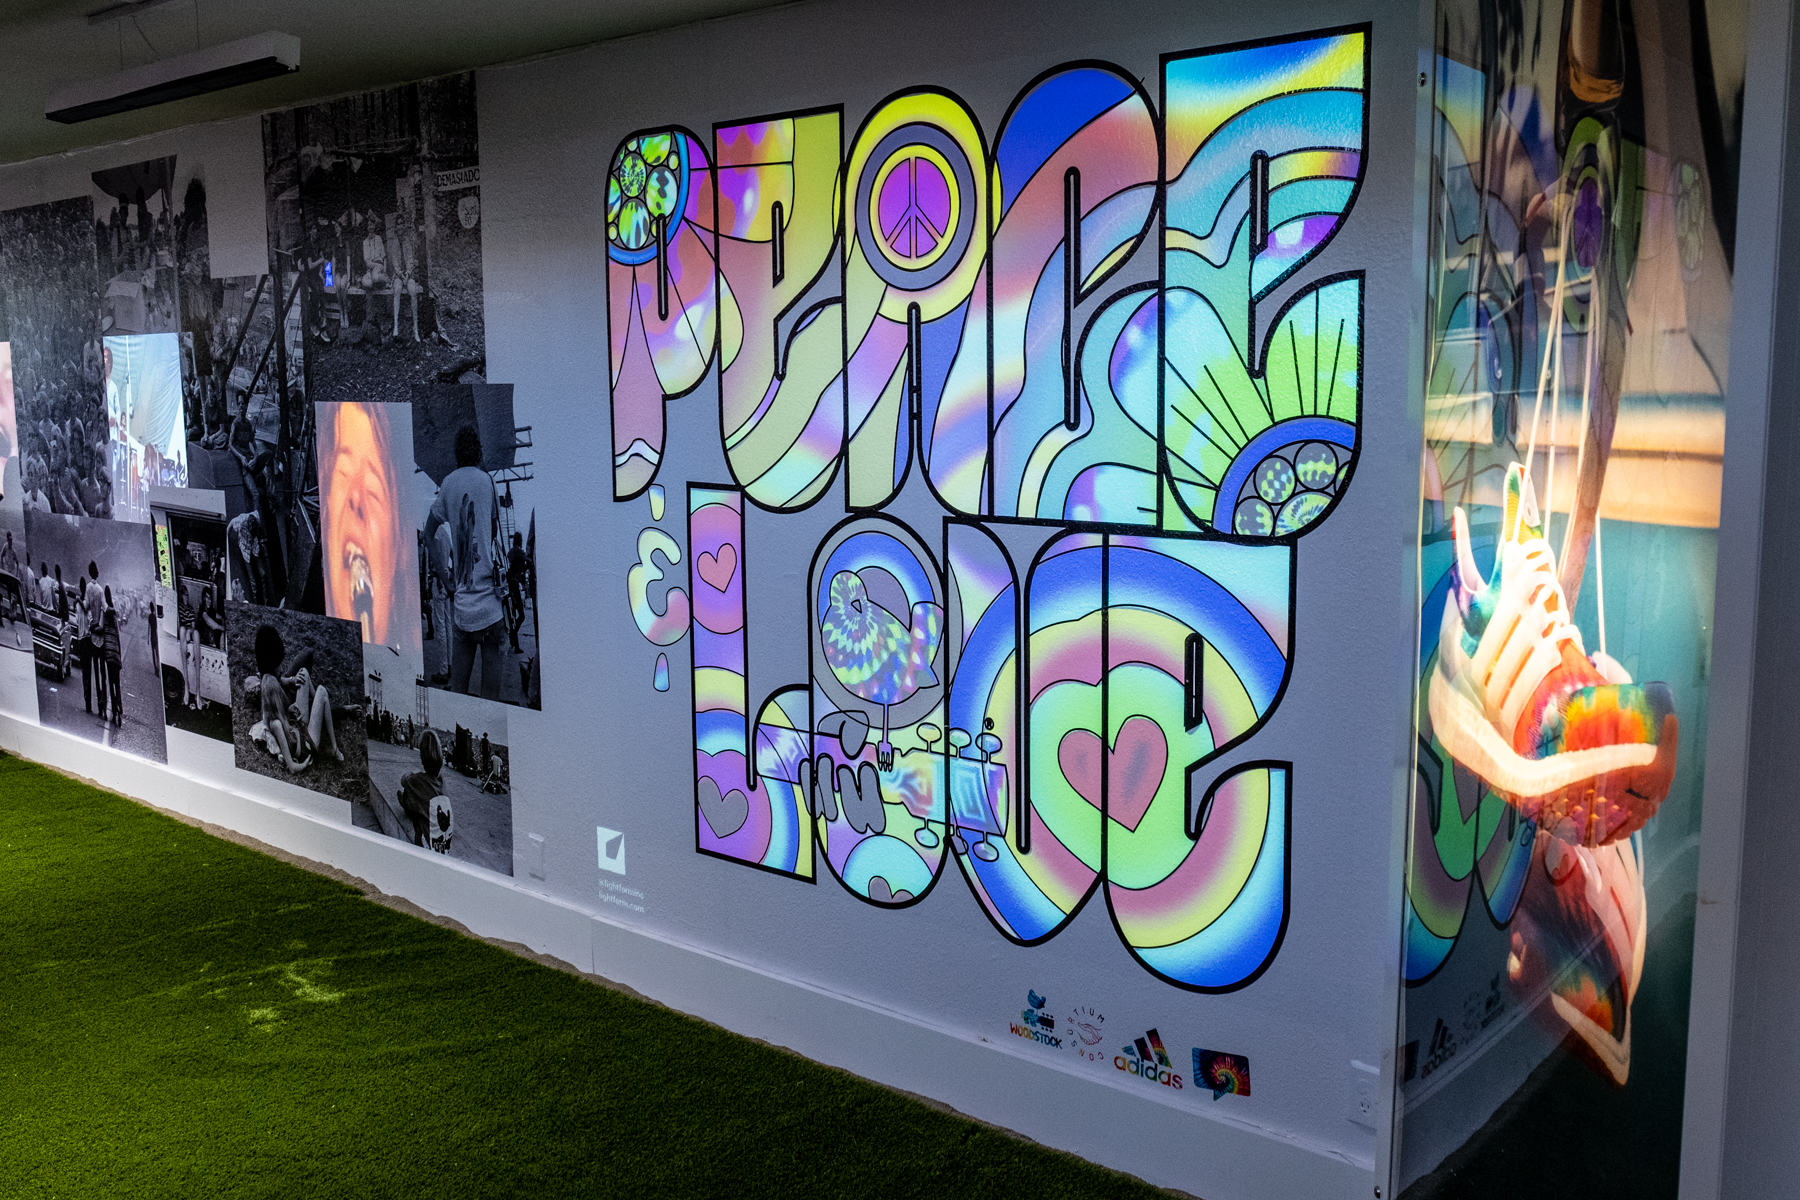
Two Epson 1060s with LFC projection mapping video and Lightform Creator Effects on vinyl.
The Nice Kicks crew knocked it out of the park, both in transforming the physical space, and making a whole line of products that were a natural fit for projected augmented reality. The Woodstock launch allowed us to showcase a few different ways of using Lightform for retail and events all at once, on photography, on products, bare walls, murals, neon signs, and more. The attention to set dressing details really gave Lightform a great starting point to take the whole scene to the next level, and for me, it reinforced that some of the most compelling projection mapping events benefit from paying just as much attention to the physical elements as the digital ones.
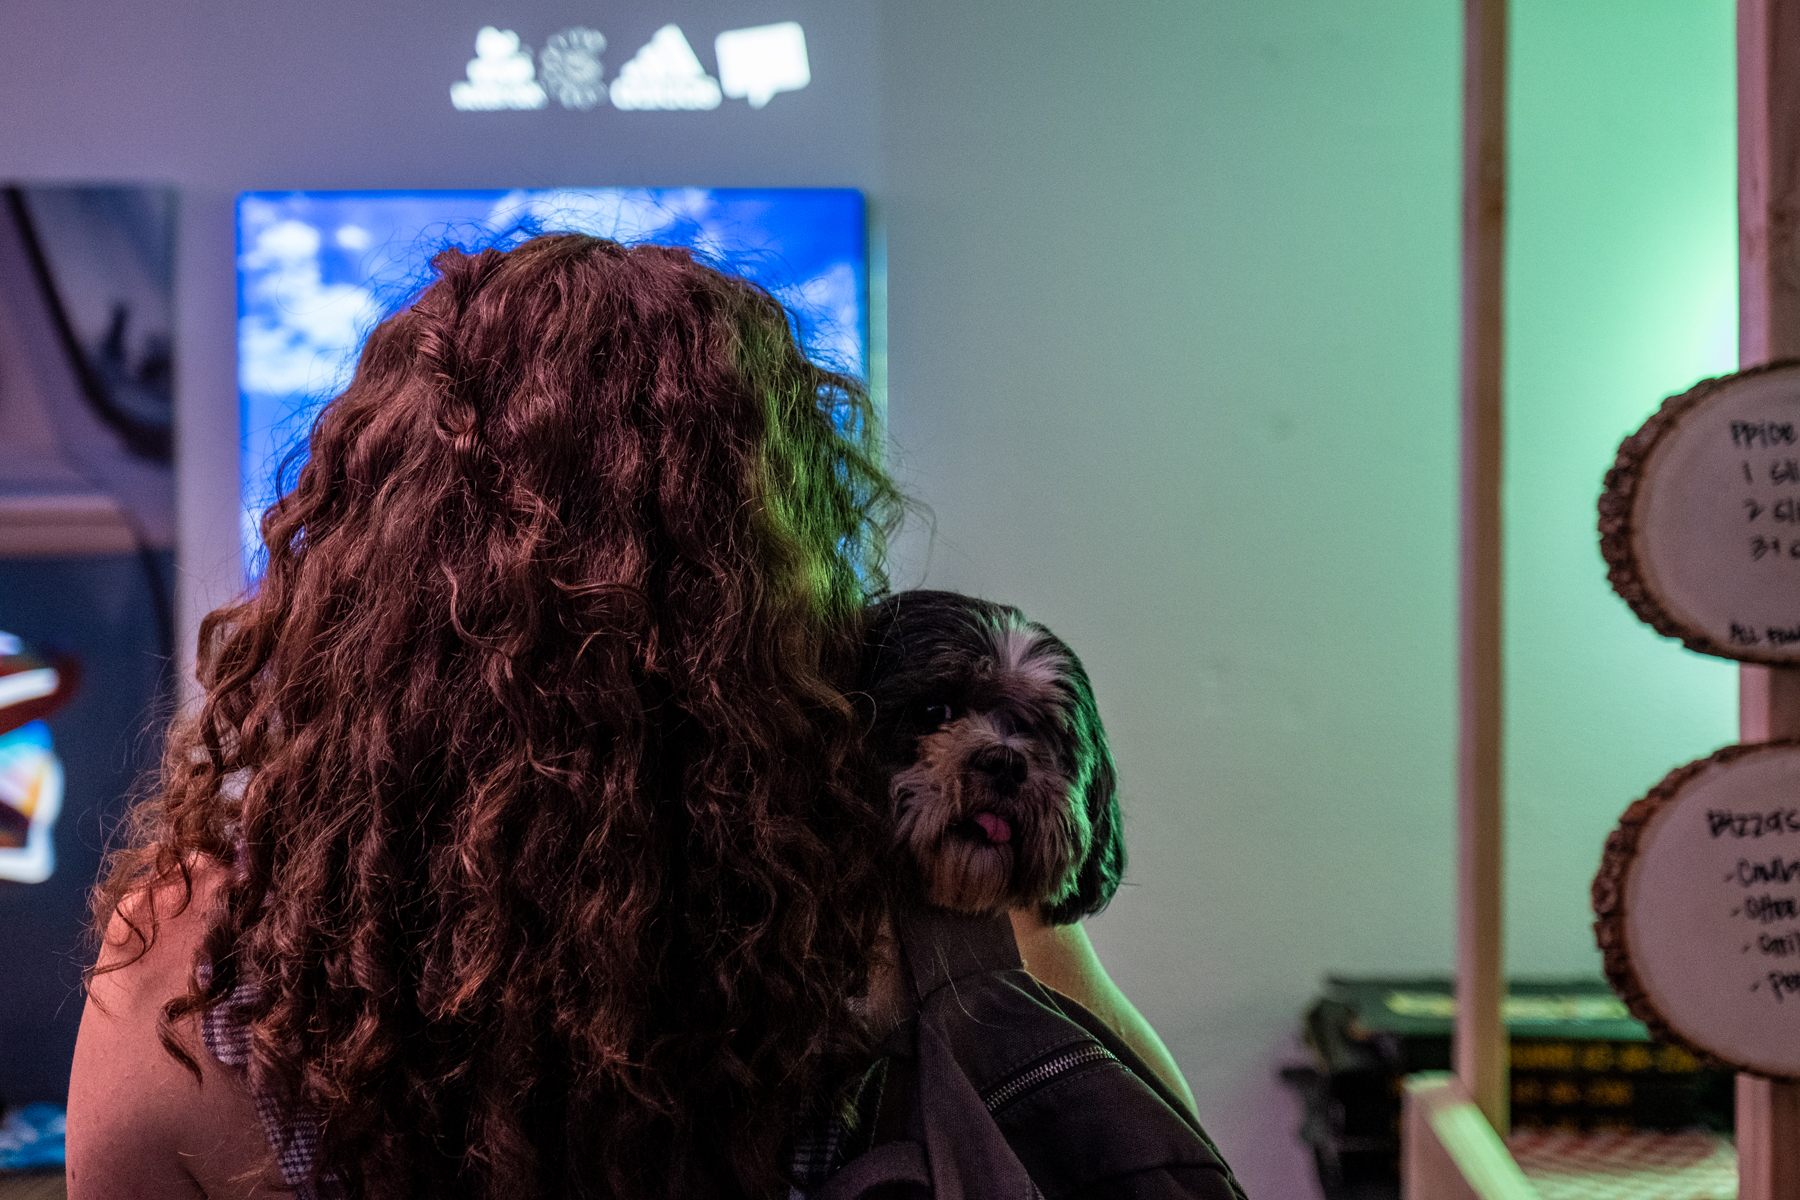
Lightform’s very own Tomato loves projection mapping and product launch events.
Note:
As of August 12th, 2022, Lightform is no longer in business and is no longer providing technical support for the product. Please refer to the Lightform Guide and FAQ for self-help resources.